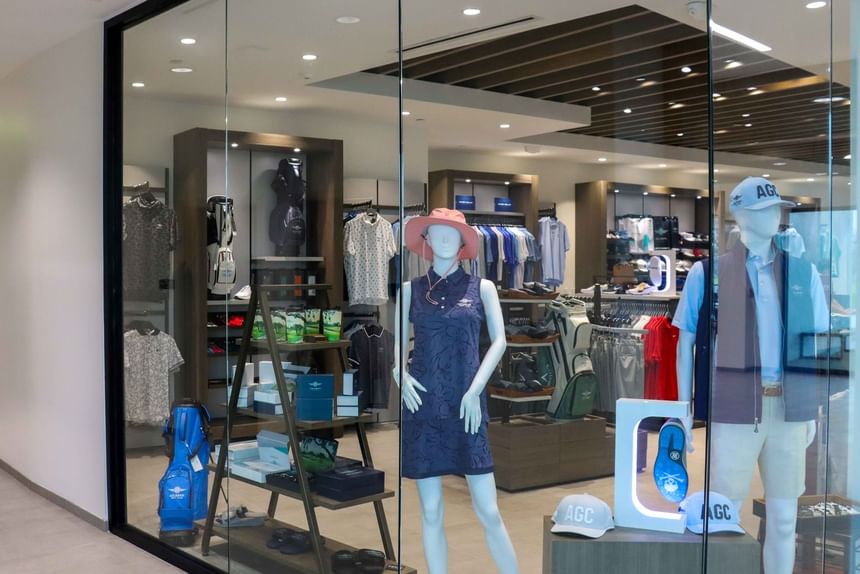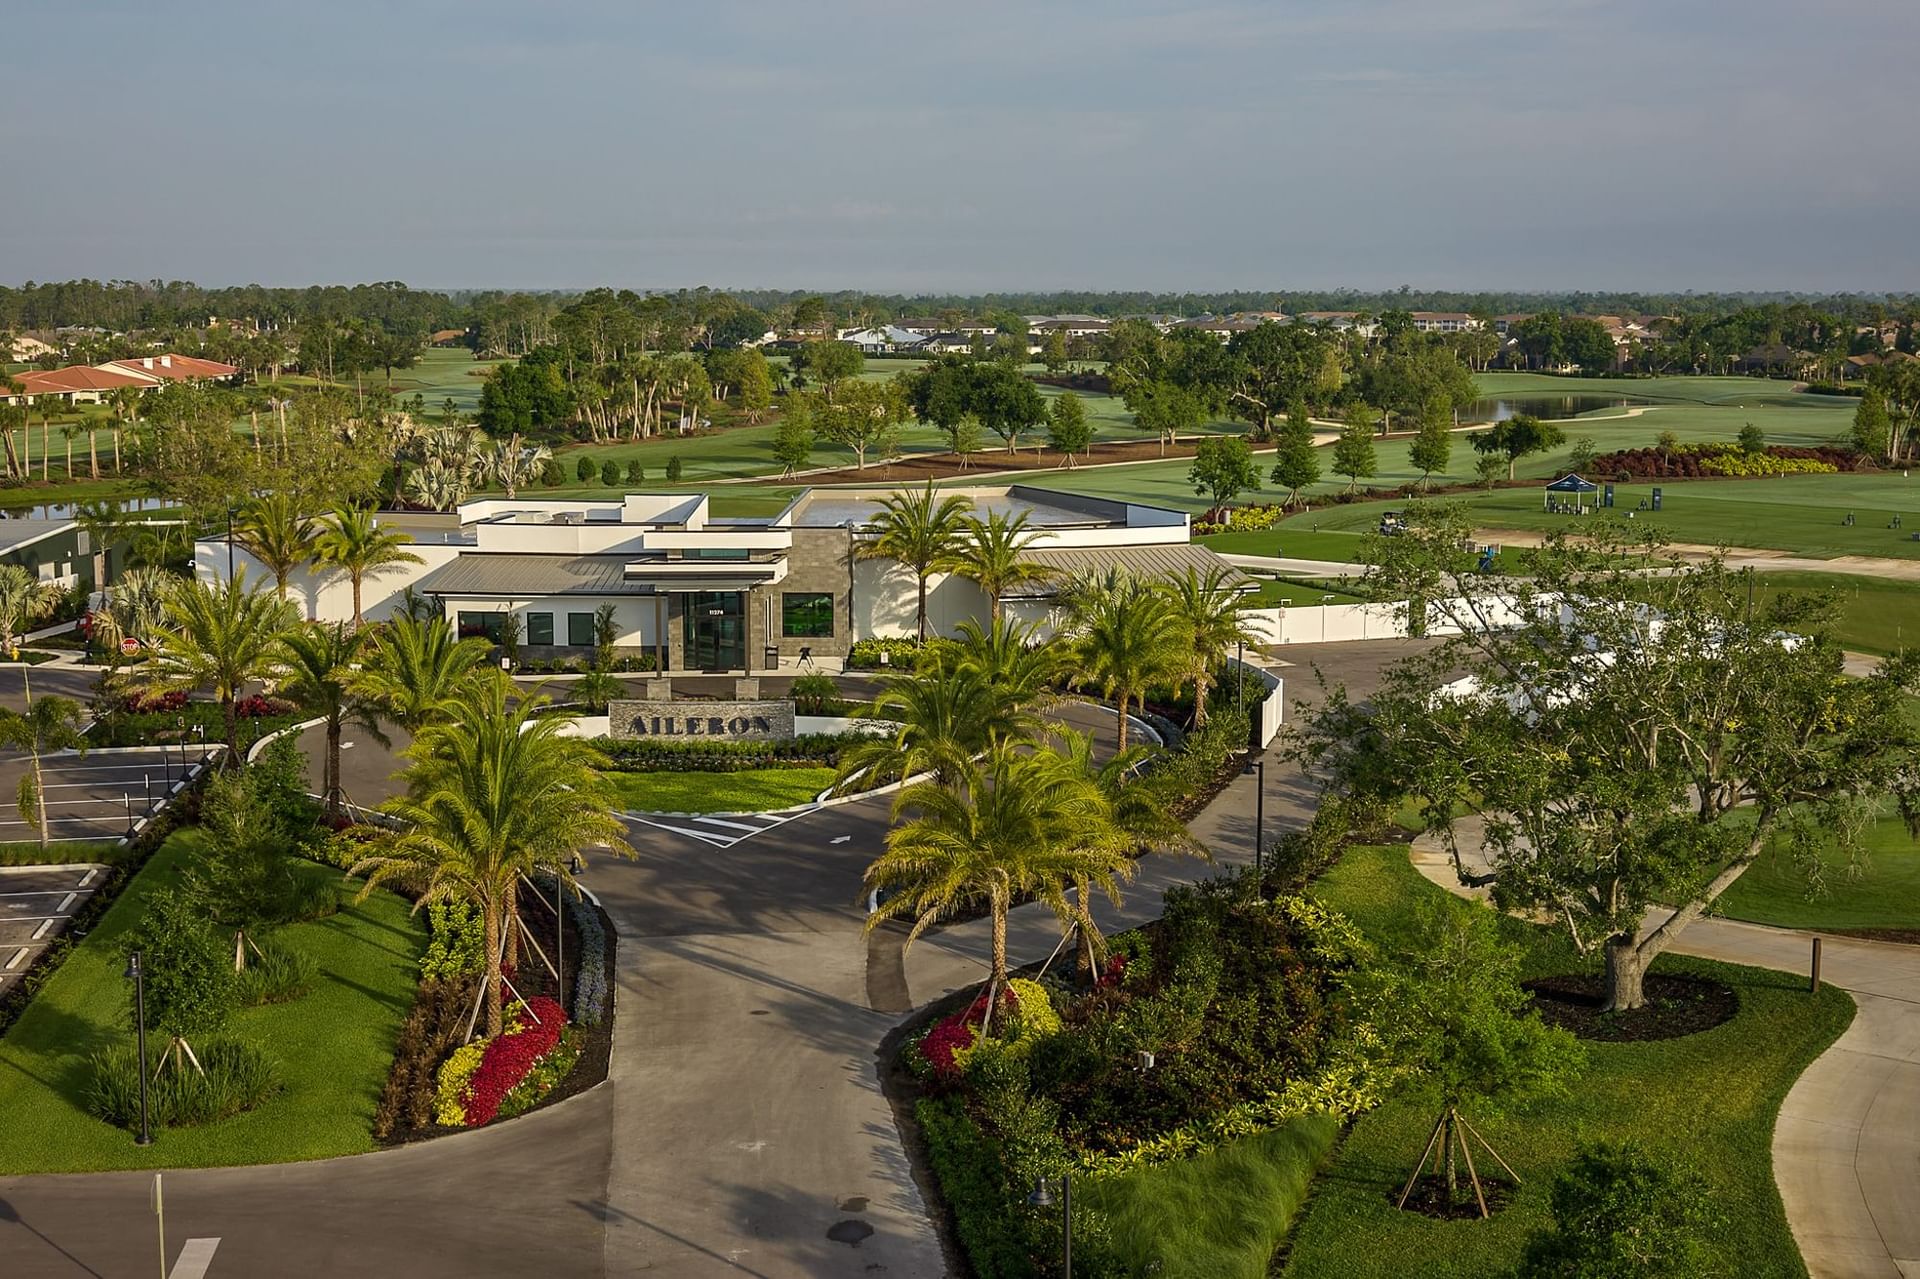
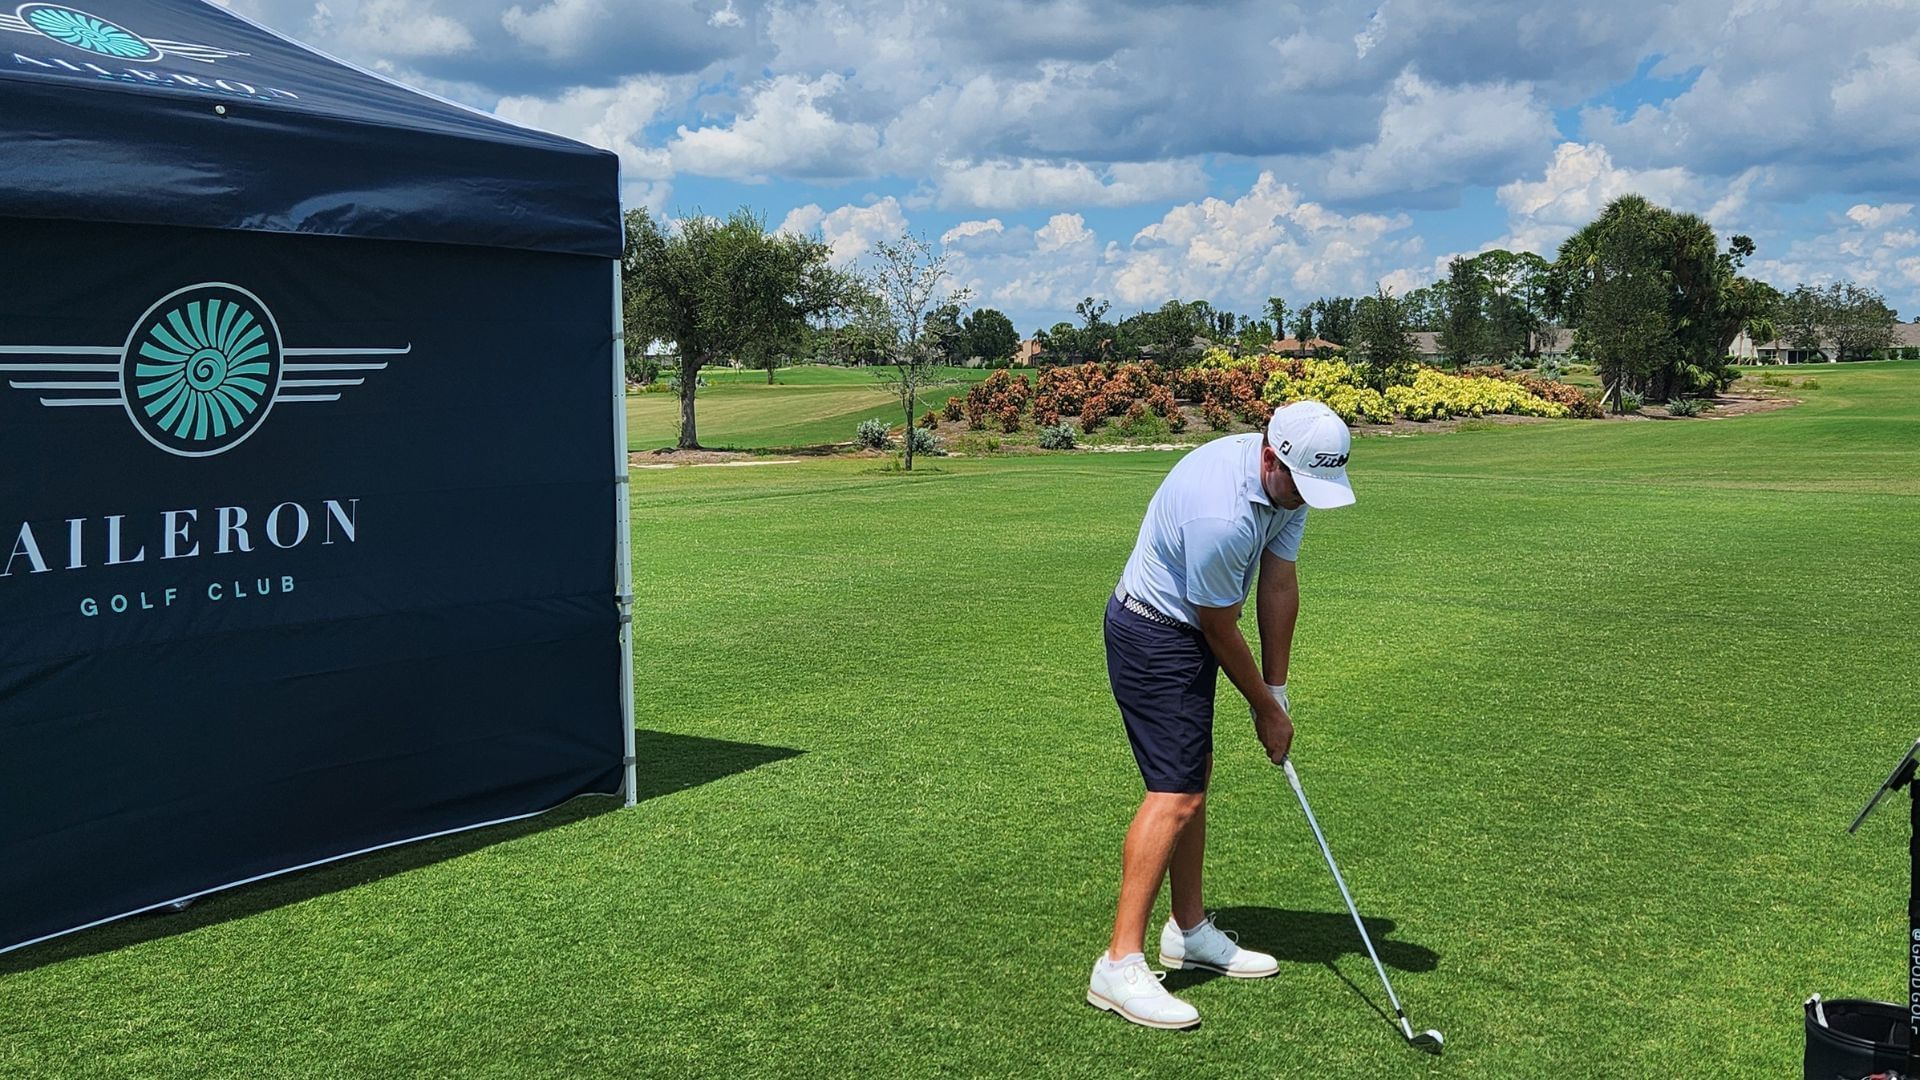
Aileron Golf Club
A Championship-level Golf Experience by Sunseeker Resorts
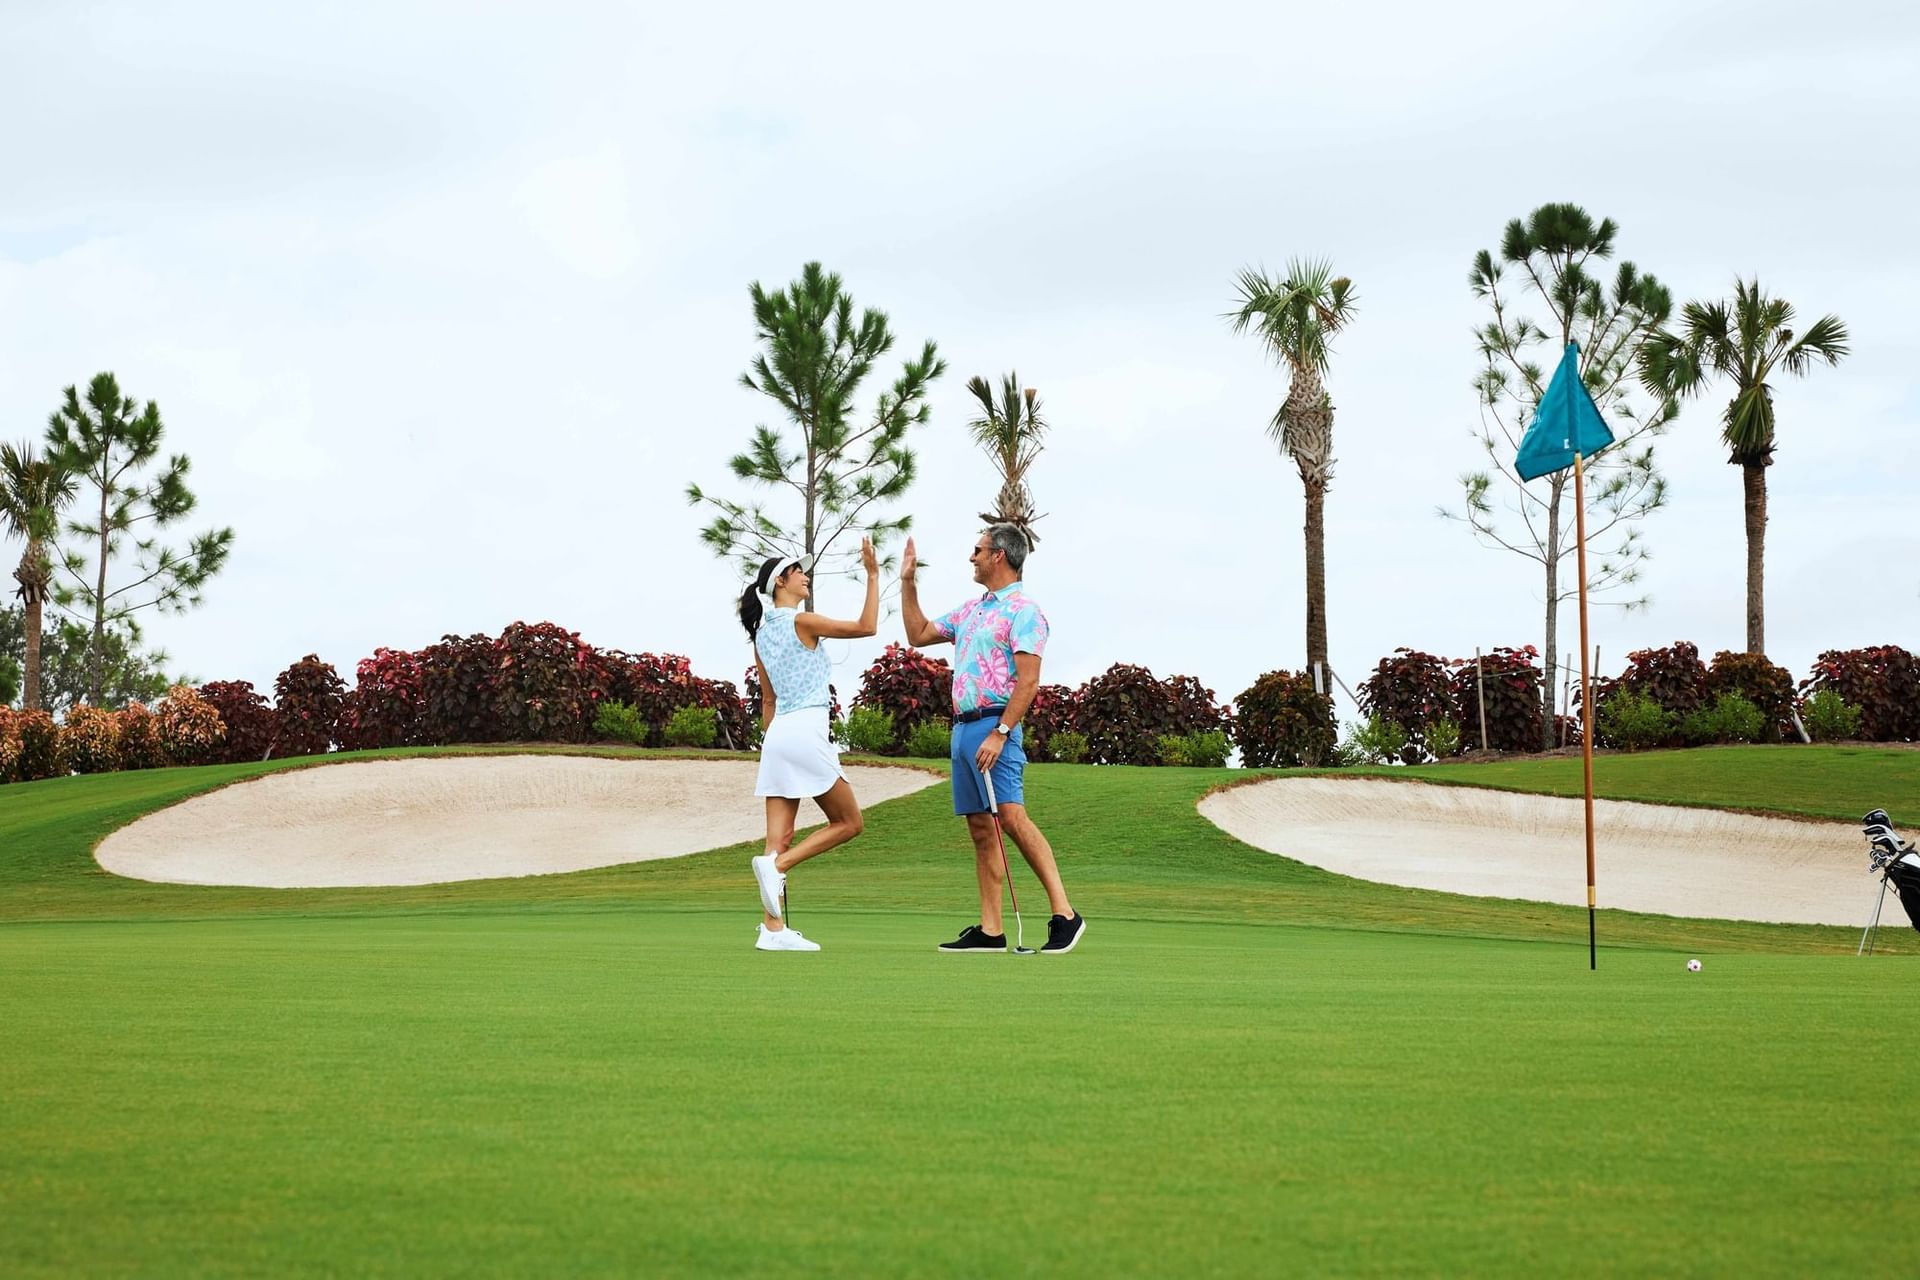
Level up your game at Aileron Golf Club, an experience exclusive only to Sunseeker Resort guests. French for “little wing,” Aileron takes its name from the trailing edges of an aircraft wing, which help stabilize and steer during flight — and just as ailerons guide a plane, this world-class course will guide your golf game to new heights. Home to lush greens, year-round sun, and distinctive course design, this golf experience is a Port Charlotte original. Here, you’ll experience golf as it was meant to be played all year round.
To book an Aileron tee time you must be a registered Sunseeker Resort hotel guest. Tee Times Daily, 7:00 AM - 5:00 PM for Resort Guests.
Please call reservations, at 833.909.5700 to book your tee time.

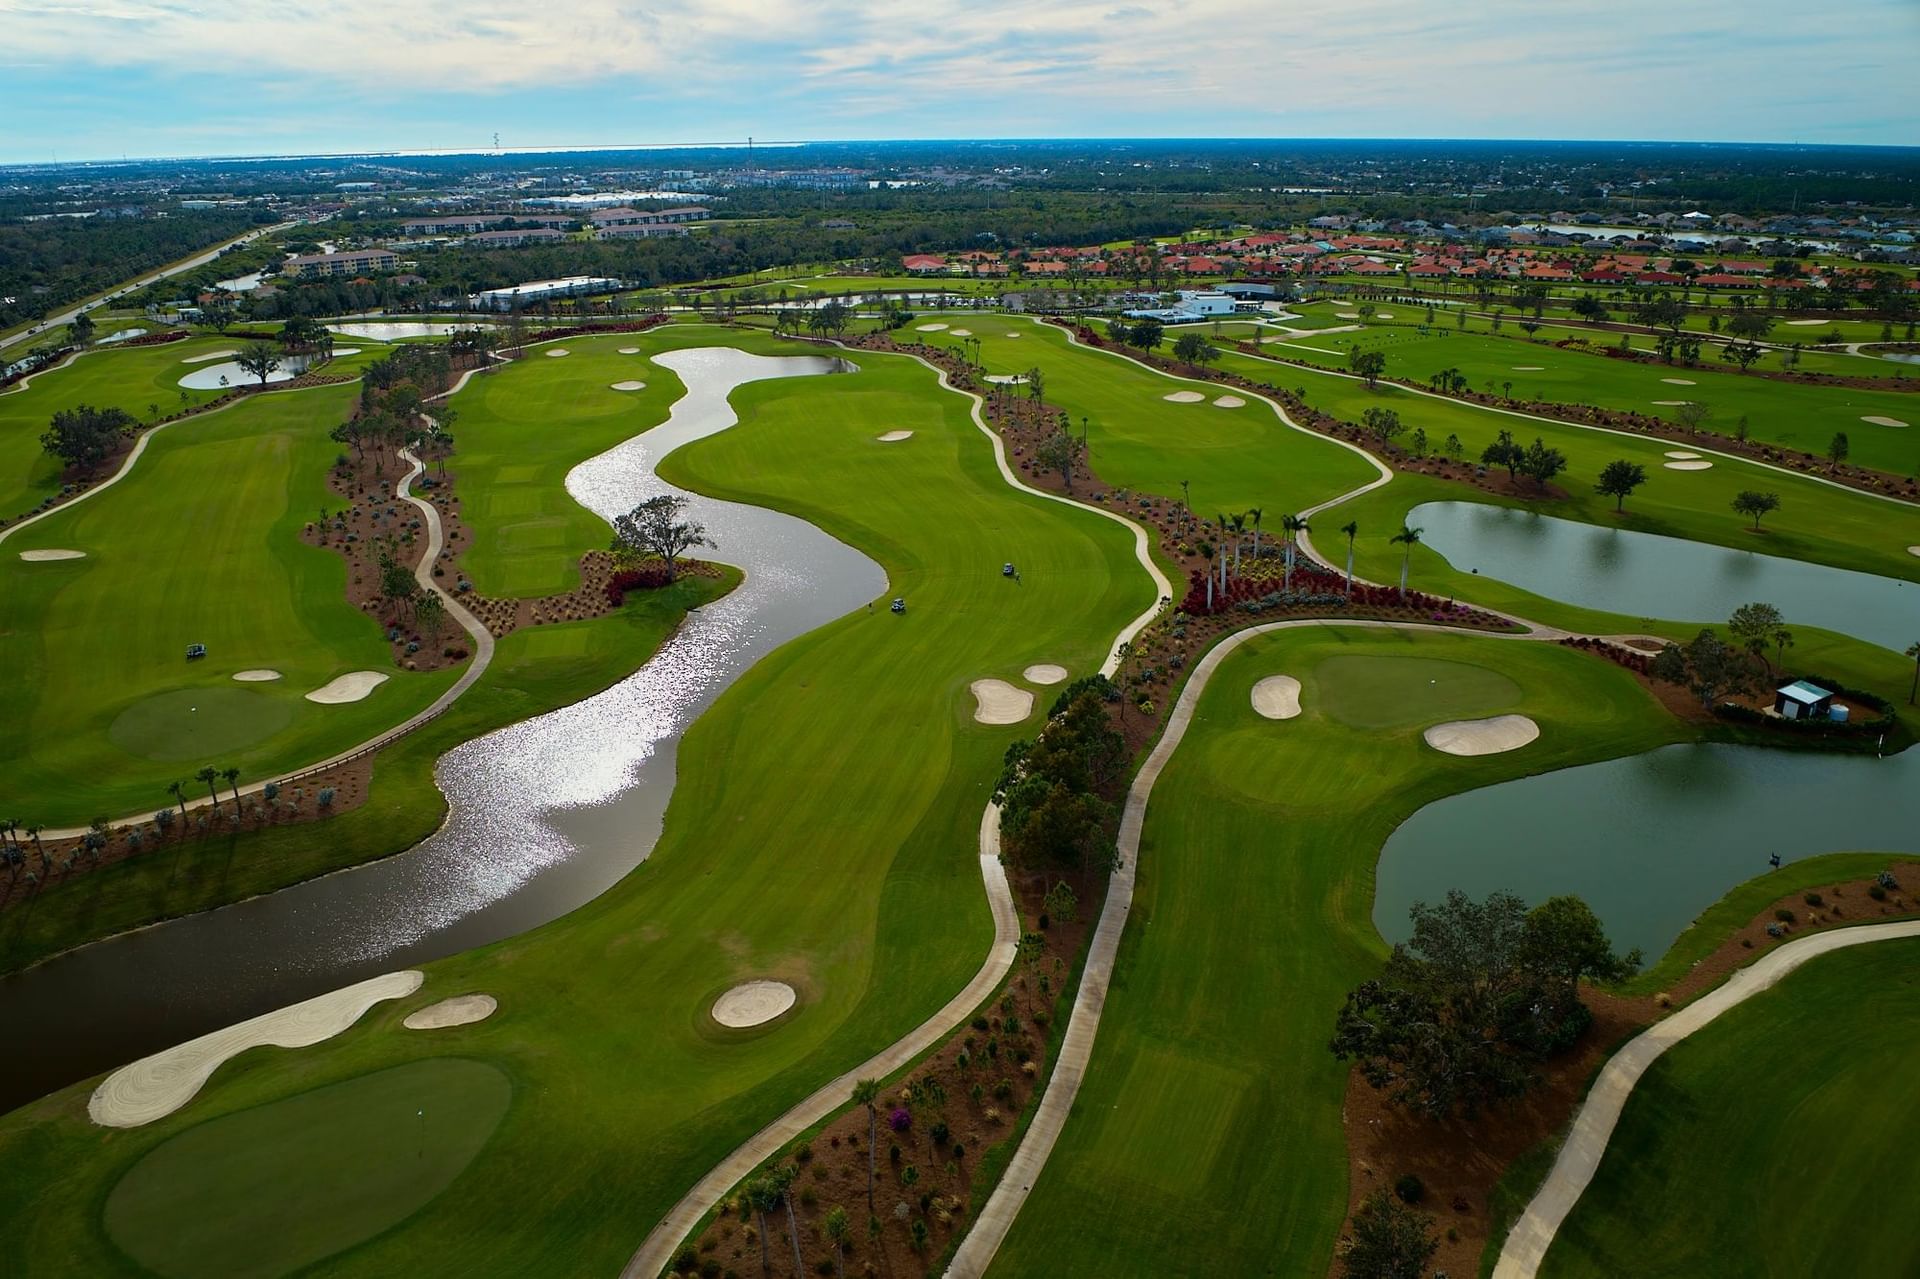

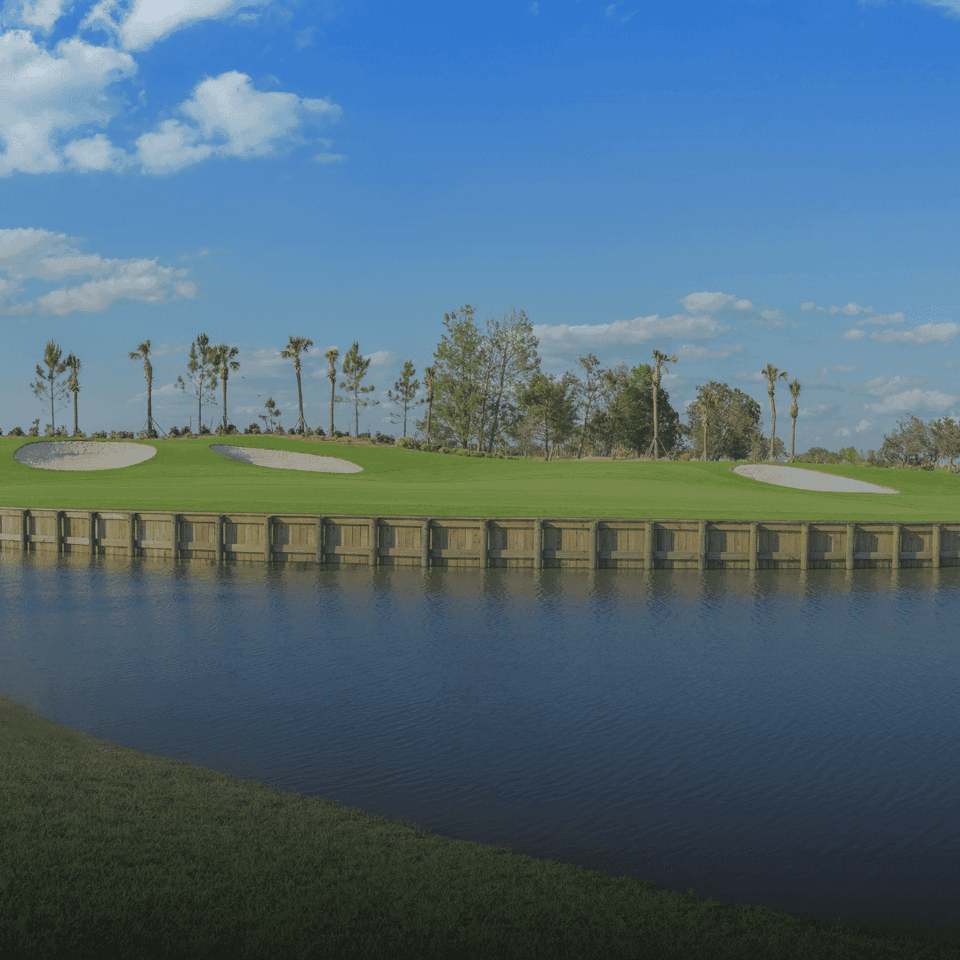
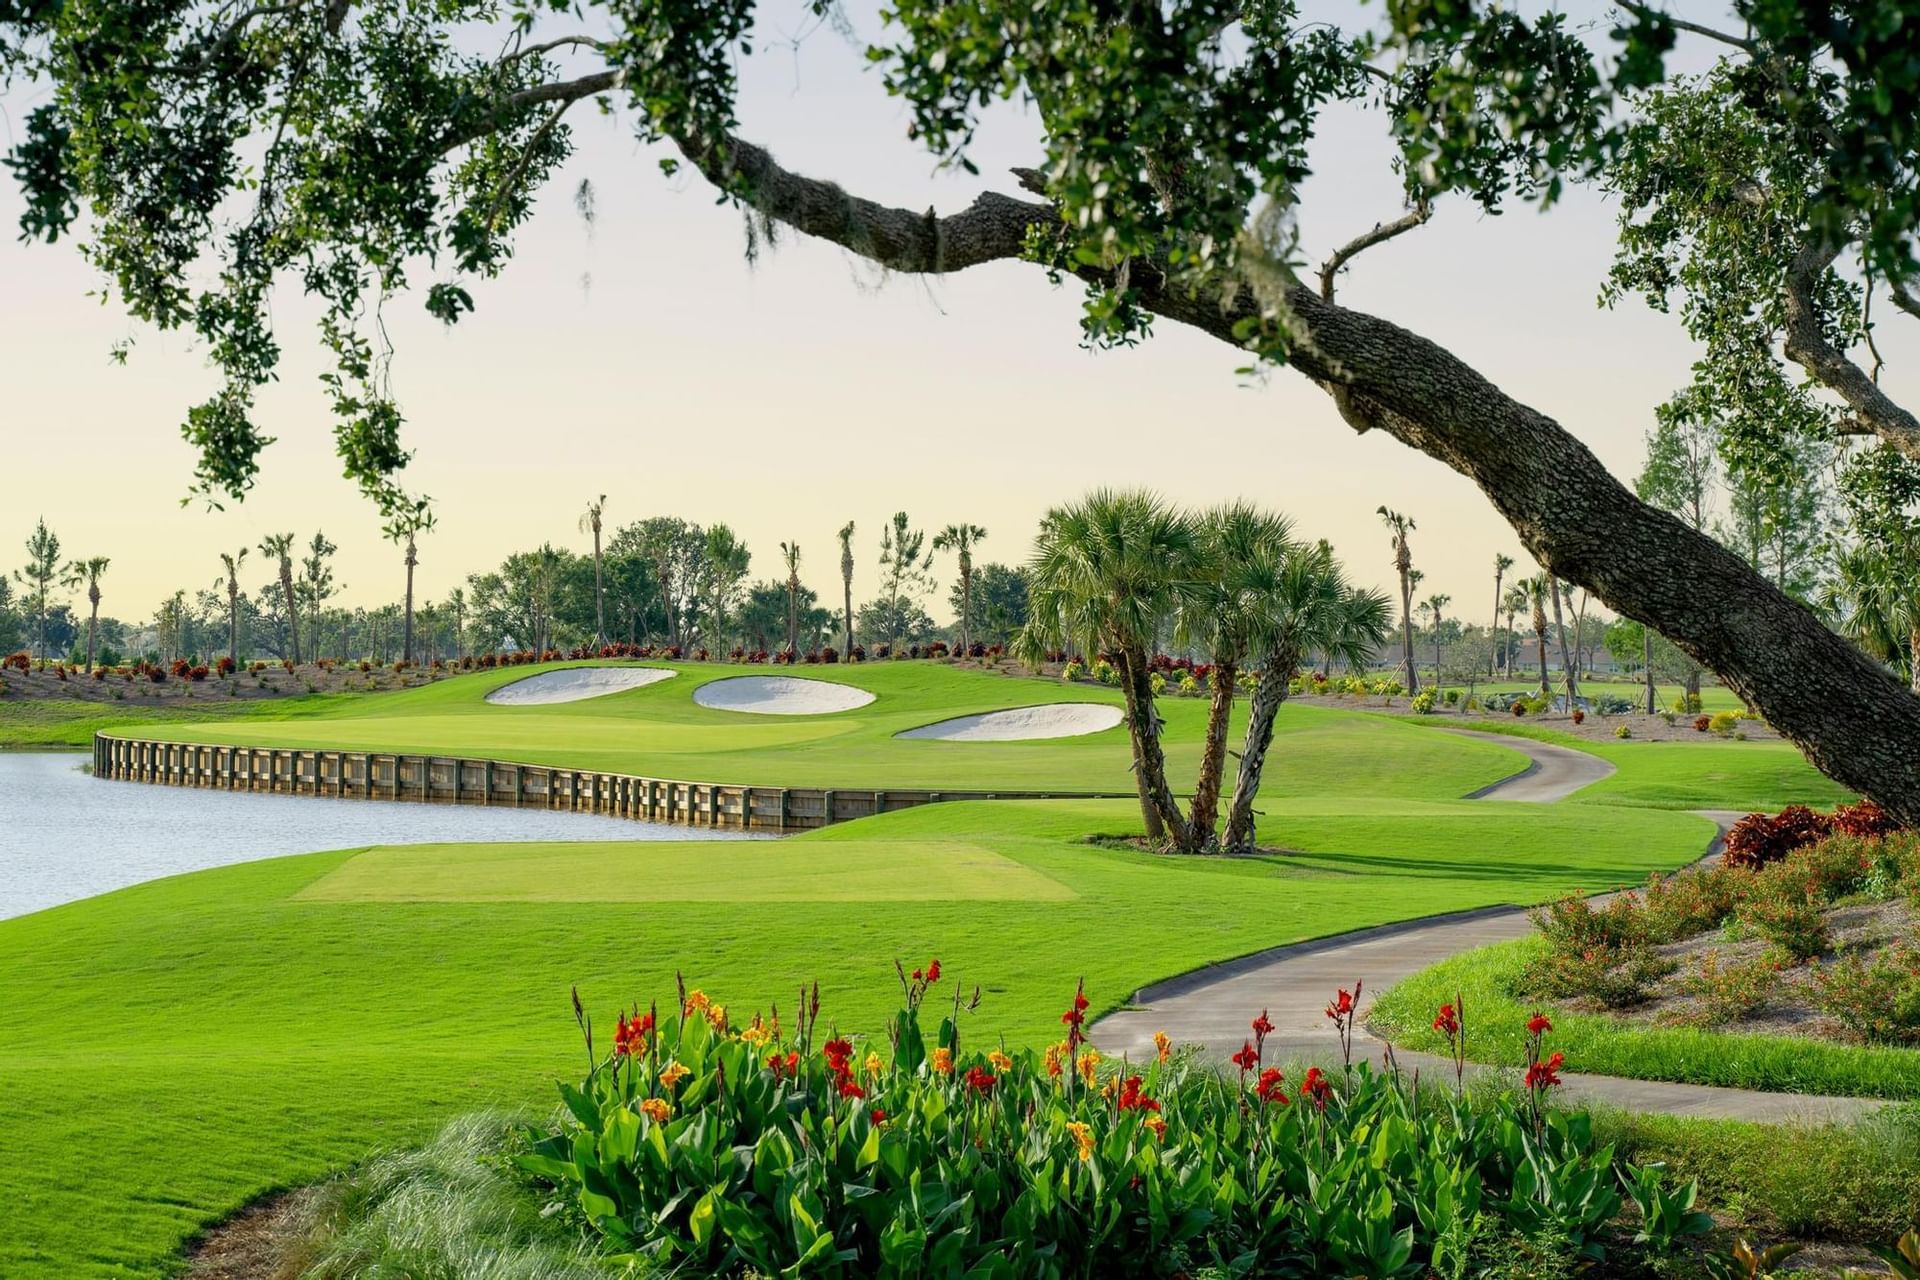
THE TAILSPIN TRIO
The "Tailspin" is a trio of challenging Holes 14, 15, and 16, a par 4, 5, and 3 respectively, that will challenge golfers to keep their games on track as they bring their round in for a landing.
GOLF MEETS AVIATION
Aviation history is an important foundation for our company. In developing the course, our team has named each hole and multiple course attributes after different aviation vocabulary. Let your golf game take flight with us.
GOLF CARTS
Our brand new Lithium-ion EZGO golf cart fleet will cleanly and comfortably grace the course while also featuring PACE Technology, offering enhanced hole graphics and yardages with an interactive touch screen site map.

TECHNOLOGY
AccuRange, an app that shows players important information on each hole, will be available to goflers, as well as full-swing launch monitoring technology, which can be used in the Academy. The Pik'r automatic golf ball picking robot will sweep the practice areas to recover golf balls and become the first partnership in the state of Florida.
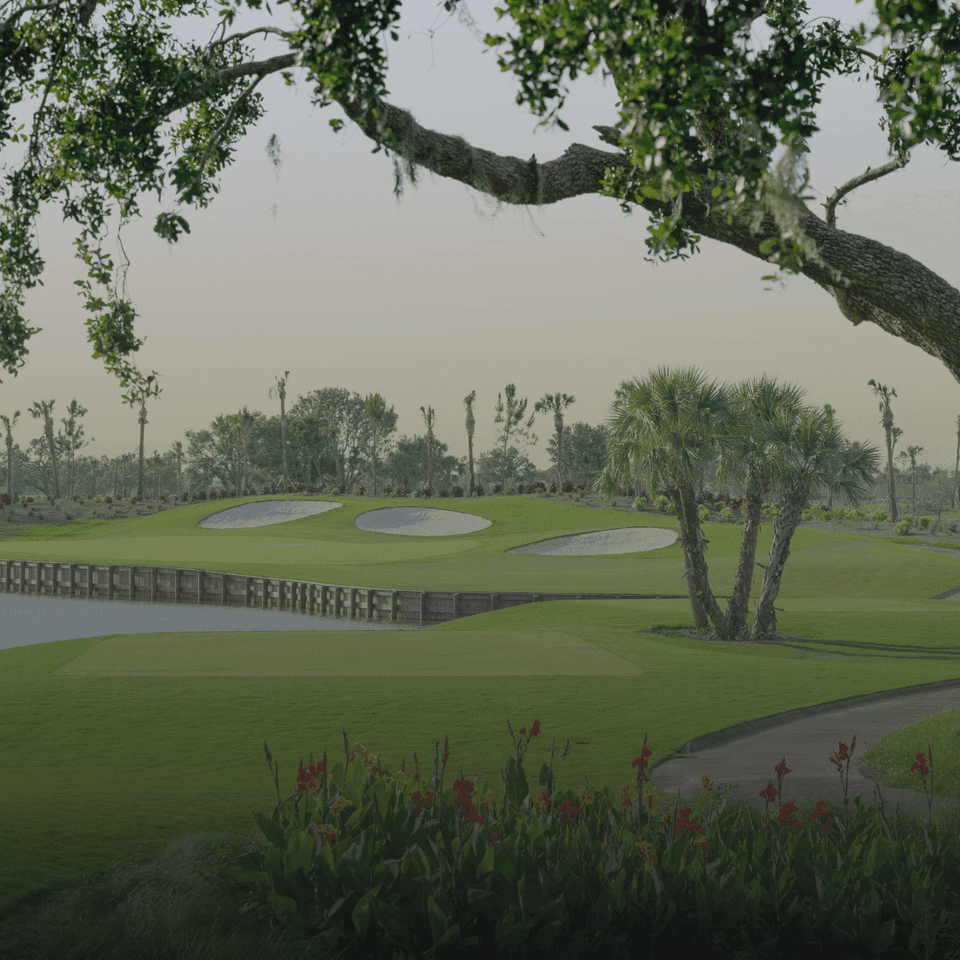
GREEN INITIATIVES
Numerous trees, shrubs, and foliage have been planted, as well as the installation of wildlife perches to help maintain and bolster the local ecosystem. Aileron's new ESP water filtration system will help collect, filter, and drain water into numerous ponds which is then used for irrigation and more.
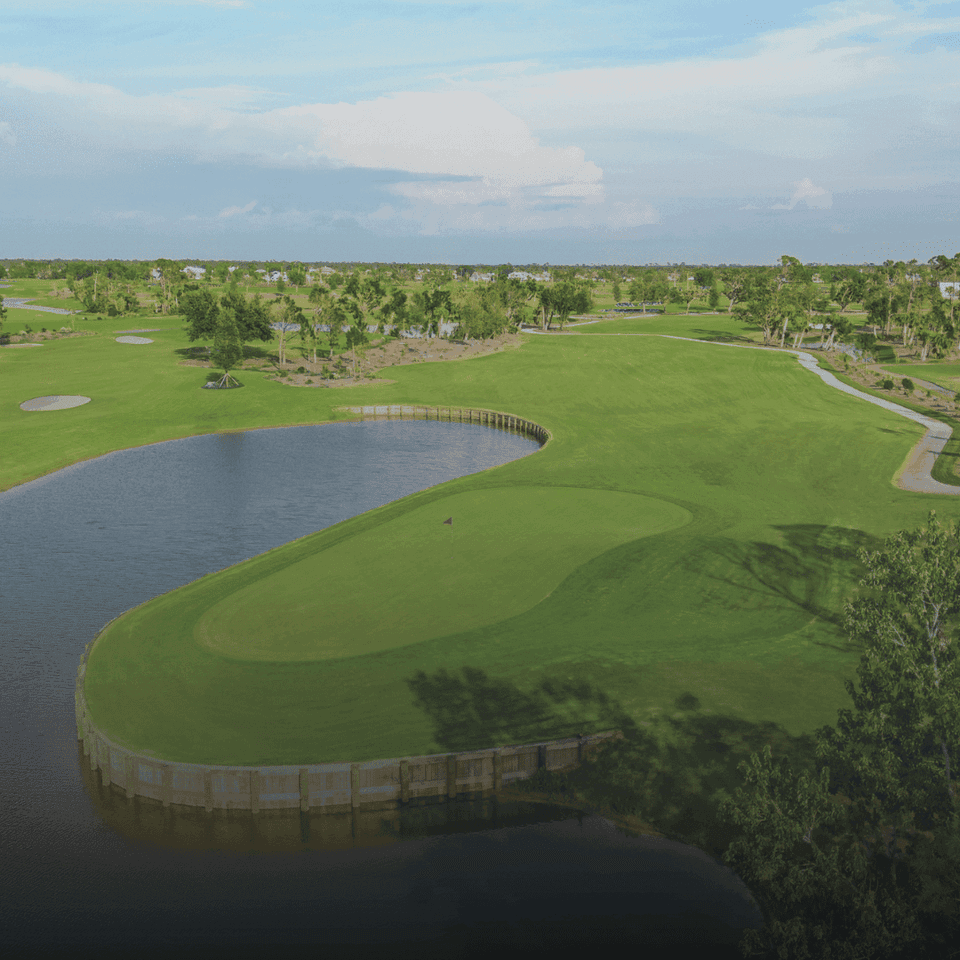
WILD LIFE PRESERVATION
All across our beautiful course you can find native wildlife including many species of birds, aligators, snakes, and other unique wildlife. However, it is best to keep a safe distance and appreciate the natural beatuy from afar.
Resort Memberships
Play, eat, relax. Who said you can't have it all? With a Sunseeker Resort Membership, you get access to world-class amenities, championship-level golf, special perks and so much more.
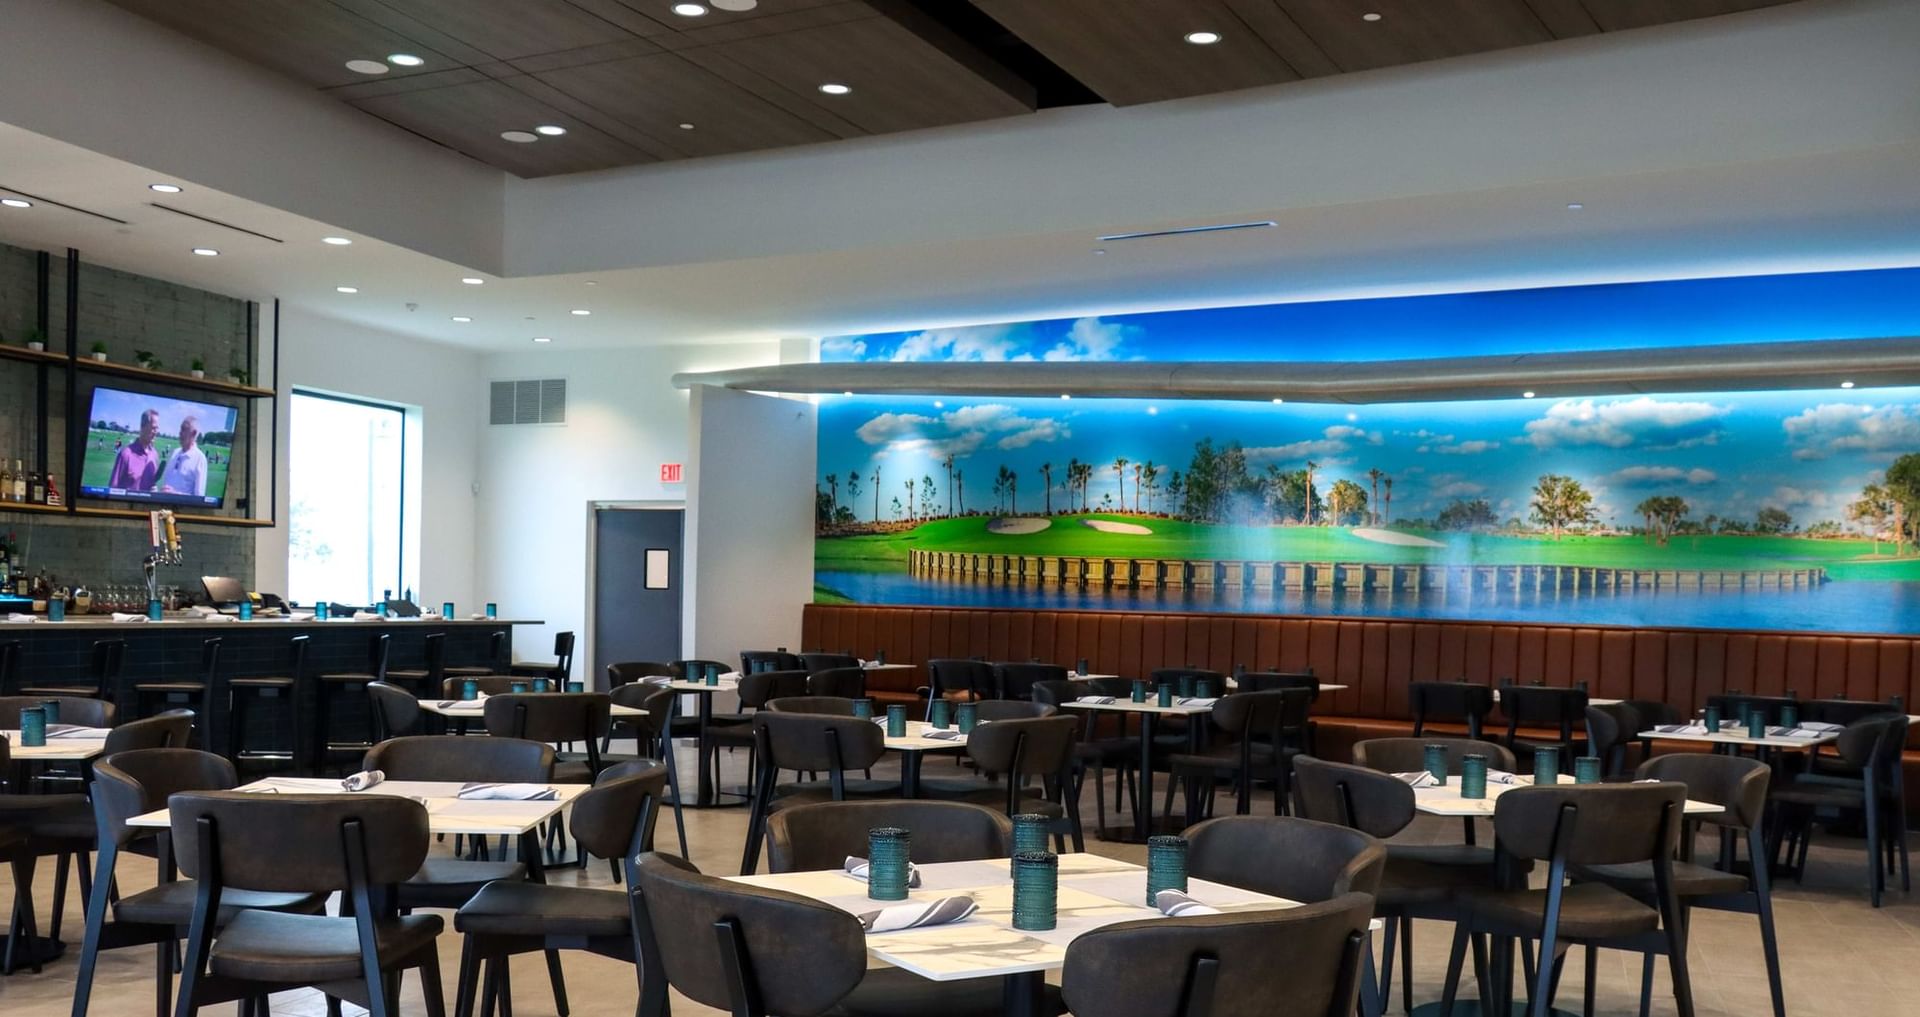
Aileron Aviators Club
Make each meal, beverage or snack a moment to savor at our full-service restaurant and bar exclusive to course guests.
Stay & Play Packages
Book a package to enhance your Sunseeker Resorts stay with rounds of golf or a professional academy lesson to take your game to the next level.